DIY Gardening Projects: How to Build Your Own Vertical Garden
Transform Your Space with Vertical Gardening
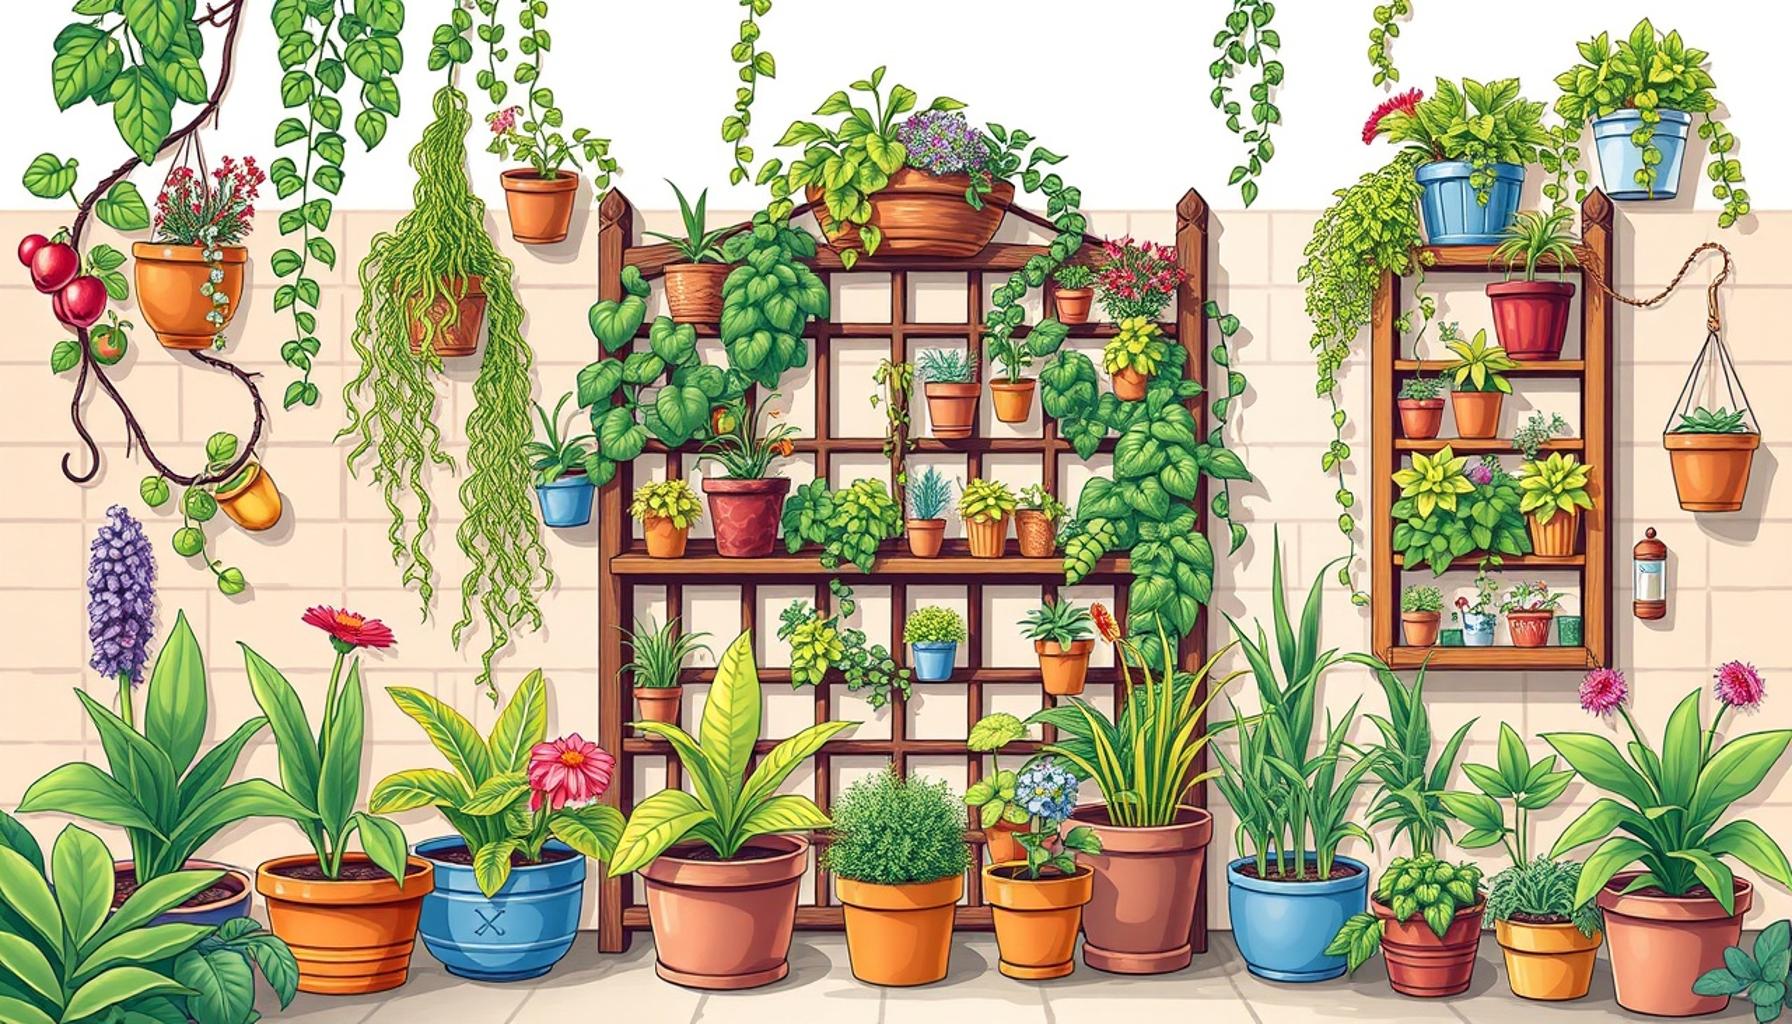
Imagine turning your small balcony or backyard into a lush green oasis with minimal effort. Vertical gardening offers a refreshing solution for those wanting to grow herbs, flowers, or vegetables without consuming valuable ground space. This innovative approach not only maximizes your growing area but also introduces a vibrant aesthetic to your surroundings.
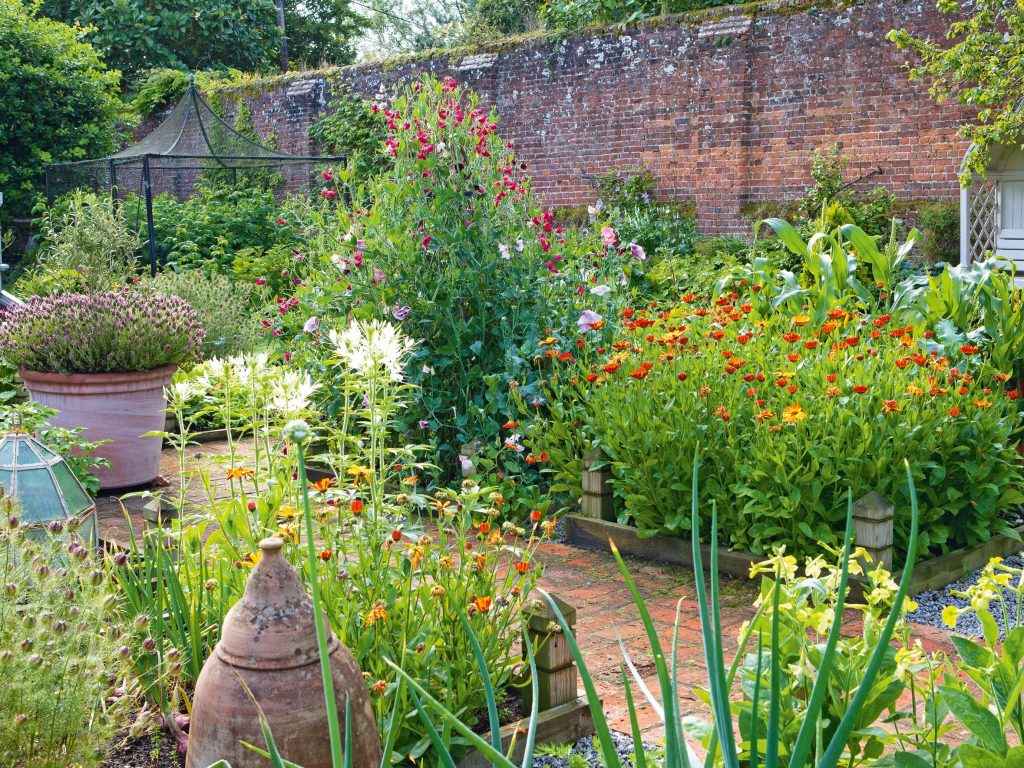
Whether you have a limited yard or simply want to add a unique decorative touch to your space, a vertical garden can be an ideal project. This trend has gained popularity in urban settings where ground space is often scarce. For instance, residents of bustling cities like New York or San Francisco have turned their balconies into thriving gardens, creating a personal paradise amidst concrete jungles. Here are some key benefits of vertical gardening:
- Maximize space: Vertical gardening is an excellent option for maximizing limited real estate, allowing you to grow more plants in less area.
- Improve air quality: Plants are natural air filters; they absorb carbon dioxide and release oxygen, contributing to better air quality in your environment.
- Enhance aesthetics: A well-designed vertical garden can serve as a stunning visual focal point, transforming dull walls or fences into vibrant displays of nature.
Building a vertical garden is easier than you might think! From repurposing old pallets to using specialized wall planters, various methods can bring your vision to life. For example, using a simple wooden pallet, you can create a rustic herb garden that not only saves space but also provides fresh seasonings for your culinary adventures. Hanging planters can be filled with colorful flowers, providing an eye-catching display that enhances outdoor relaxation areas.
Not only will you reap the rewards of fresh produce, but you’ll also engage in a project that boosts your creativity. Whether you choose to grow tomatoes, succulents, or even strawberries, the possibilities are virtually endless. As you begin your vertical gardening journey, consider the following essential elements:
- The essential tools: You will need basic gardening supplies such as potting soil, a watering can, scissors, and a sturdy structure like shelving or trellises.
- Plant selection tips: Choose plants that thrive in your climate zone. Herbs like basil and parsley are great for beginners, while ornamental plants like ferns can add lush greenery.
- Step-by-step instructions: Start by selecting a suitable wall, constructing your frame, and arranging your pots or planters to create an aesthetically pleasing layout.
Get ready to dig deep into the world of vertical gardening and unleash your inner landscape artist. This engaging DIY gardening project can lead to not only a productive garden but also a deeper connection with nature and an enhancement of your living space. With vertical gardening, the opportunities for creativity and self-expression are boundless.
Gathering Your Supplies for a Successful Vertical Garden
Before diving into the exciting world of vertical gardening, it’s essential to prepare and gather the necessary supplies for your project. With the right materials and a clear plan, you can transform your vision into a stunning reality. Here’s a breakdown of what you’ll need to kick-start your DIY vertical garden.
Essential Tools and Materials
Creating your own vertical garden can be an enjoyable and rewarding experience. To ensure your project runs smoothly, here’s a list of essential tools and materials you’ll need:
- Planters: Choose from a variety of options such as hanging pots, wall-mounted planters, or even recycled containers. Make sure they have proper drainage to keep your plants healthy.
- Frame or Structure: Depending on your design, you can use wooden pallets, trellises, or metal racks. Ensure it is sturdy enough to support the weight of the soil and plants.
- Potting Soil: Selecting high-quality potting soil is vital for your plants’ growth. Look for a mix that retains moisture while allowing for proper drainage.
- Watering Can or Hose: Keeping your plants hydrated is crucial. Use a watering can for smaller gardens or a hose with adjustable nozzle for larger setups.
- Gardening Gloves and Tools: Don’t forget to equip yourself with gloves, scissors, and planting tools to make your gardening experience more comfortable and efficient.
By gathering these tools and materials in advance, you set yourself up for a successful vertical gardening project. But before you start planting, you’ll need to think about your plant selection. The right plants can significantly impact the overall outcome of your vertical garden.
Choosing the Right Plants
When selecting plants for your vertical garden, it’s essential to consider both aesthetics and functionality. Herbs such as basil, mint, and thyme are great for culinary enthusiasts, as they are low-maintenance and perfect for limited spaces. Additionally, flowering plants like petunias and fuchsias can add a splash of color and beauty to your garden.
For a more adventurous selection, consider incorporating succulents or trailing vines like pothos and ivy, which create stunning visual layers. Here are some tips to guide your plant choices:
- Climate Consideration: Ensure the plants you choose are suitable for your local climate zone. Doing a little research can save you from future headaches.
- Sunlight Requirements: Assess the amount of sunlight your vertical garden will receive daily. Choose plants that thrive best in your available light conditions.
- Vertical Growth Habits: Opt for plants that naturally grow upwards or cascade. This will enhance the vertical design and create a visually appealing display.
With the right tools on hand and a vibrant assortment of plants selected, you’re perfectly poised to create an eye-catching vertical garden that thrives in your available space. Stay tuned as we delve into the step-by-step process for constructing your vertical garden and tips to maintain its beauty.
DIY Gardening Projects: How to Build Your Own Vertical Garden
Building your own vertical garden can be a rewarding DIY project that not only enhances your space but also promotes sustainable gardening practices. Vertical gardens utilize limited space effectively, making them an ideal choice for urban dwellers or those with small gardens. Let’s delve into the many advantages they offer.
| Advantages | Key Features |
|---|---|
| Space Efficiency | Maximize planting area by utilizing vertical space, ideal for small yards. |
| Improved Air Quality | Plants naturally filter pollutants, contributing to cleaner air in urban settings. |
| Enhanced Aesthetics | Vertical gardens add visual appeal and can serve as living art installations. |
| Accessibility | Easier to tend to and harvest, reducing the strain on your back. |
As you can see, a vertical garden is not just a beautiful addition to your home; it provides practical benefits as well. With these advantages in mind, the potential for creativity and functionality in your gardening efforts is immense. Stay tuned for more tips and details on creating your own DIY vertical garden project!
Building Your Vertical Garden: Step-by-Step Instructions
Once you’ve gathered your supplies and selected the perfect plants, it’s time to roll up your sleeves and bring your vertical garden to life. Whether you’re aiming for a minimalist design or a lush green wall, following these step-by-step instructions can help you create a striking vertical garden that showcases your creativity and passion for gardening.
Step 1: Choose Your Location
The first step in your vertical garden project is to determine the best location. Consider both the sunlight and accessibility when choosing a spot. A south-facing wall generally receives the most sunlight, making it ideal for sun-loving plants. Alternatively, if you want more shade-tolerant varieties, a north-facing area may suit your needs better.
Step 2: Install the Frame or Structure
Your selected frame or structure should be secure and aligned with your chosen location. If you’re using a wooden pallet, start by reinforcing it with screws to ensure stability. For trellises and racks, use brackets and wall anchors to secure them firmly in place. It’s essential to check that the frame can hold the combined weight of soil, water, and plants over time.
To give your garden a polished look, consider painting or staining your frame to match your outdoor decor or interior style.
Step 3: Prepare Your Planters
Now that you have a solid structure, it’s time to prepare your planters. If you are using recycled containers, ensure they are thoroughly cleaned and have drainage holes. For hanging pots or wall-mounted planters, you can either fill them directly on the frame or set them up individually, depending on your design preference. Line the bottom of each planter with a mesh or landscape fabric to prevent soil from falling out while still allowing for proper drainage.
Step 4: Fill with Soil and Plant
With your planters in place, carefully fill each one with your chosen potting soil. Ensure you leave enough space at the top for watering, as soil will settle once it gets wet. Gently transplant your selected plants into the soil, taking care not to disturb their roots. For a staggered effect, consider different heights while planting. After arranging them as desired, be sure to firm the soil around each plant adequately.
Step 5: Water and Maintain Your Garden
Once your plants are established, the next step is hydration. Water them thoroughly, allowing the water to drain out from the bottom of the planters. The frequency of watering will depend on your plant selection and environmental conditions. As a rule of thumb, check the soil moisture regularly; it should be damp but not soggy. Drip irrigation systems can also be an efficient solution for maintaining consistent moisture levels, especially in larger vertical gardens.
Routine maintenance is key to ensuring your vertical garden thrives. Regular pruning, deadheading flowers, and checking for pests are fundamental to keeping your plants healthy and promoting new growth. From time to time, you might need to reposition some plants or replace those that don’t fare well in their designated spots.
Step 6: Enjoy Your Efforts
Finally, enjoy the fruits of your labor. Sit back, relax, and admire your vertical garden’s beauty as it transforms your space. Moreover, don’t hesitate to share your gardening journey with friends and family or start a community garden project to inspire others.
Through thoughtful selection of plants, a well-constructed frame, and regular maintenance, your DIY vertical garden will not only enhance your outdoor or indoor space but also provide a growing oasis for you and your family to enjoy.
Conclusion
In conclusion, embarking on a DIY vertical garden project not only beautifies your space but also enhances your connection with nature. This creative endeavor allows you to explore your artistic side while providing an opportunity to cultivate a diverse range of plants, from vibrant flowers to fresh herbs. As you follow the outlined steps—selecting a suitable location, constructing a resilient frame, preparing your planters, and maintaining your garden—you’ll likely discover the joys of gardening and the satisfaction of nurturing life.
Vertical gardens are particularly advantageous for those with limited space, demonstrating that even small areas can flourish with greenery. These projects can also improve air quality and contribute to urban biodiversity, making them a responsible choice for environmentally-conscious individuals. Moreover, as you develop your skills, consider exploring various planting techniques or incorporating hydroponic systems for an innovative approach.
As you stand back to appreciate your beautiful vertical garden, remember that this journey is just the beginning. Share your gardening triumphs with the community, engage in knowledge exchange, and inspire others to delve into the world of DIY gardening. By making conscious choices for your vertical garden, you are cultivating not only plants but also a lifestyle that embraces sustainability and creativity. So grab your tools, unleash your inner gardener, and let your vertical oasis thrive!